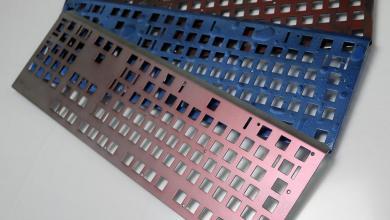
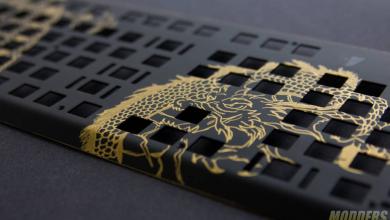
How to paint your computer case, a painting guide
It is easier than you think
So the day has come that you are tired of looking at the same old’ case over and over again each day and you just hate the idea that there is probably a few 100 of the same machines out there that look just like yours. But what can you do to remedy this? You can paint it! Painting the computer case is an easy way of transforming your PC to something that you will enjoy looking at and in the process have fun doing it. At first, it may sound like a huge ordeal to overtake but with a few simple instructions and some spare time, you can have something that you can call your very own.
Simple designs to complex images can be created in different ways, but they all have something in common and that is a bit of work from you. Depending on the amount of work you want doing to your case is how much effort you have to put into it. Once you get started you will probably find out that you will want to go a little farther here and there and that is great because that means you are getting the modding bug. The cost associated with creating your masterpiece is depended upon you.
So what might be the first thing you need to do once you have chosen a color and or a design for your paint job, preparing the case. To do the job right you need to take the case apart as much as possible so that you can paint all the edges, insides and misc parts. But there may be a few of you that have an all-black case and want to keep that color on the inside of the case or on the backside of the panels. You are more than welcome to do so and your workload has been chopped down to half or more. Those that want to go all the way with the paint you have some extra hours to put in. Taking notes or even better yet taking pictures of how the case is put together is a must-do step. You see you might start off thinking that it will be a “weekend project” but as life happens it might be a week or more before you get back to the case and if you can’t remember how it goes back together you could be in for a world of hurt.
Now that you have the case taken apart to the level that you want it is time to prepare the surface for painting. Everyone has different ideas on how to prep the case for this job and some will say that their way is the right way or that you are taking a short cut but some of the processes depend on what you may have available to you. A majority of people out there do not have a professional paint setup with different spray guns, a paint booth, and a way to bake the paint on. This is where the old spray can paint becomes a modder’s best friend. There are ways to have your paint job come out just as good a pro paint job, but you will have to work for it.
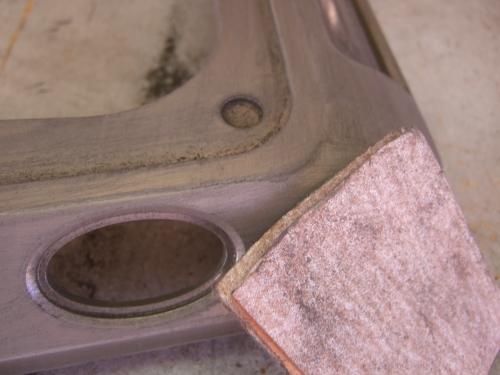
The first thing you want to do is make sure that you have done all the drilling, cutting, bending, or what you want to be done to the case before you start your painting. There is nothing worse than having all your painting completed and then finding yourself having to drill more holes and chipping, cracking, or scratching the paint up. Once you are sure that all the work you want to be done is done then let’s get to painting. One of the first things you will ask yourself is how much of the old paint do I need to remove and tell you the truth you will get a different answer for everything you ask someone. Some think that you only need to rough up the surface while others say the only true way to do it is to go down to the bare metal. As I stated before this all depends on what you have available to you to achieve it. If you do not have a bunch of power tools at your disposal you can use the old tried and true way of using your hand and some sandpaper. It will take a little longer but you got to do what you got to do, but if you want to help speed up this process you can invest in a small palm sander for $20-30 or more. Either way, you go you will need to have the most basic item, sandpaper.
Here is a bit of background on sandpaper, it is rough and scratches away stuff…lol, OK sorry but it is true. There are many different types of sanding paper and depending on what you want to do is what you need to use. The most basic thing that every sandpaper has in common is how rough it is which is known as the “Grit”. Just remember this, the lower the number the rougher the paper is; which in turn means the more you will remove, but at a price of more work later on. By using rougher grit sandpaper you can remove a lot of material in a short amount of time but this means that the surface is also much rougher with grooves that you just created. I am not worried about a little extra work so I like to start off with a 200 grit sandpaper as it takes off a good amount of paint and the scratches that it leaves behind are not too bad. When a good portion of the paint is removed then I like to step up to a finer grit of 400. This will continue to remove any paint that might be left behind plus it will start to smooth out any of the grooves that were made by the 200-grit paper. After all the paint has been removed a once over with some even finer grit paper, 600 grit, really smooths out the metal and this is what you want to help you get that smooth finish. Some will say that you do not need to go all the way down to the metal to paint the case and that is true, but a better primer is needed to help bond the paint. By jumping right to the 400 and 600-grit steps from above you can save some time and still get a good-looking outcome.
Now that you have the items sanded and ready to be painted you need to do just a few steps to make sure that you get the best results for your hard work. This part is very important as it is the foundation of your hard work so far and to come. A clean surface is a must for the perfect paint job and it can be had pretty darn easy by simply washing them. By using some clean water and a clean rag you can wash the parts down to remove all the dust and tiny partials that have gotten into every crack. Do not use any soap during the washing process as it will leave a film on the surface and it will not allow the primer to adhere to the metal. You must make sure that the items are fully dry before you do any sort of painting. If you are lucky enough and have an air compressor you can use that to blow dry the parts, but if not you can leave them out to air dry for a day or two (I do this even after blow drying them). The thing to do after the parts have completely dried is to wipe them down with a clean lint-free cloth. The best thing to use is something called a Tack Rag which is made from cheesecloth and is slightly sticky to the touch. The tackiness of the rag will pick up any particles left on the item making sure it is clean. A tack rag/cloth can be bought a just about any hardware store for just a few dollars.
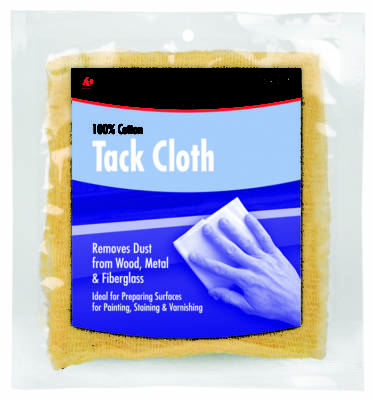
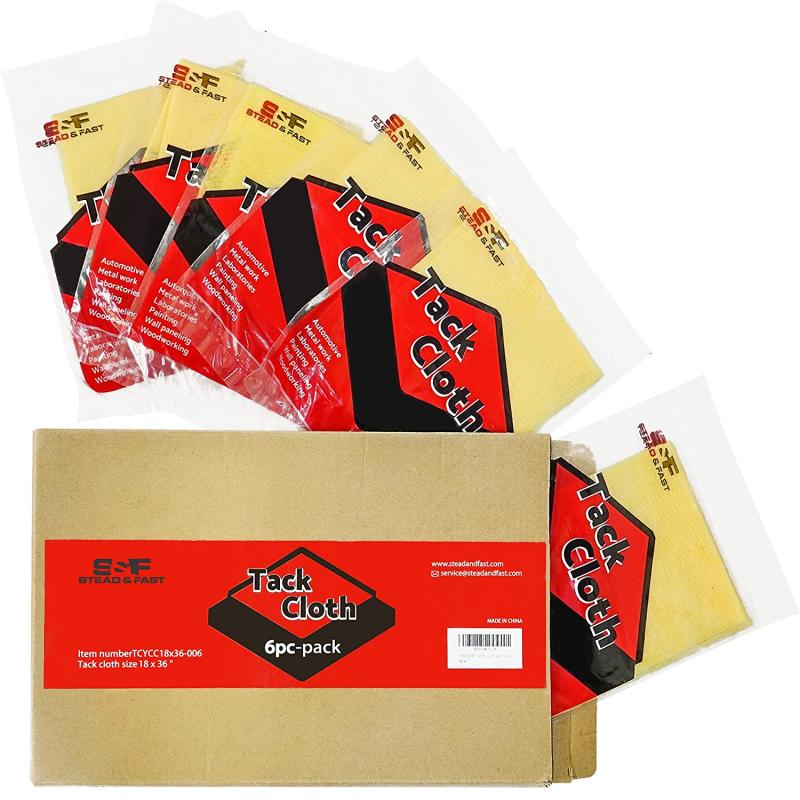
Tack Cloth for Painting, Sticky Tack Rag for Automotive, Metal, Sanding, Cleaning, Dusting, Staining, Tac Cloths Box, 18 x 36 Inches Dust Cloths
When possible I would suggest that you suspend the item you are painting. I am pretty sure you have seen it before where someone is painting some car parts on TV and you will see some of the items hanging. The reason behind this is for a few reasons with one being that you have easier access to all sides of the part. Another reason is that you will get a better spray out of the can fit you hold it upright. This will help reduce the chances of overspray and the possibility of the paint “spitting” a bunch of paint out. And finally, it is just more comfortable to do it like this. If you are not able to hang the parts then I would next suggest some way to elevate the item to at least a workbench height for the same reasons listed before. Next, you should prep the area in which you are going to paint at. The area should be clean and free of anything that may go airborne and land on your parts. Laying down a drop cloth, which can be bought at any hardware store for a few dollars, before you begin any painting as it will help control overspray damage to anything that might be in the area and it also helps control loose objects from finding their way onto your project.
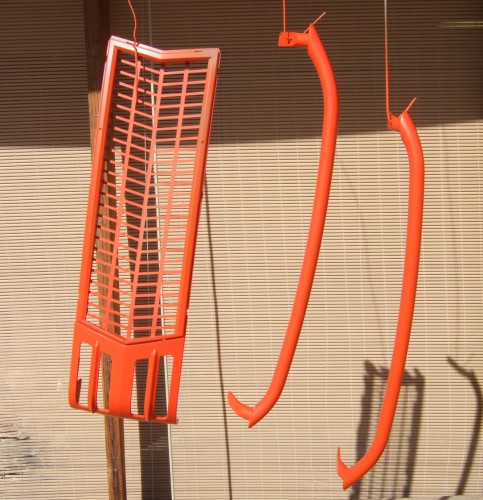
You now have the painting area all prepped and the pieces all nice and clean you are ready to start applying your primer and paints. If you are not able to suspend the items and have to paint them while they are flat you should consider elevating them on a wooden block or a small cardboard box. Why, well it allows you to move or rotate the item to ensure that all the areas get painted and that no places are missed. Plus if you paint it, say on top of some newspaper, you are running the risk of the paint sticking to the paper and thus damaging your paint job.
After going through all the work up to this point to get everything as perfect as you can so don’t get lazy here as a little more extra care will make sure that your paint job will be done right. The first thing you need to do is read the recommended direction on the product you will be using. Yeah, I know who reads this stuff but you can learn some important information like what is the best weather conditions to get the best results and such. Normally you will want a day that is about 70-75f and with calm winds if you are painting outside. You also want to avoid days that have high humidity as the metal could collect micro water bubbles and the paint will not adhere or peel and it will cause you to start all over again
A good “self-etching” primer creates the needed layer between the surface and the paint. You see primer is a very key part of the painting process. This gives you a surface that the paint can adhere to rather than directly to the metal. Yes, you can paint right onto the metal but the primer will also help you hide any of the imperfection.

Self-etching primer is suitable for use on bare metal, aluminum, and fiberglass surfaces. Filler and sandable spray paint fills minor surface imperfections and sands smooth
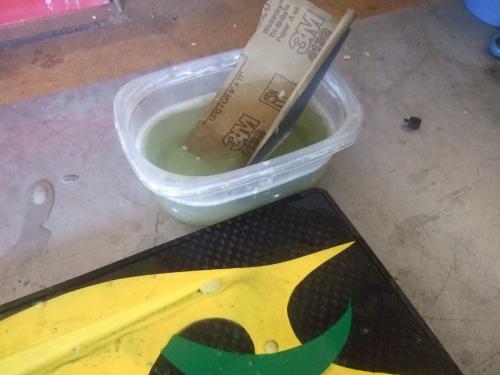
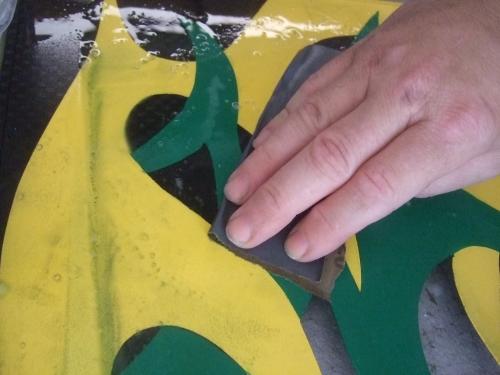
Any minute scratches will be filled in by the primer thus creating a smooth surface. To take this step even further and help you get that glass smooth finish you need to do some wet sanding on the primer. Wet sanding is pretty much as it sounds. Using a liquid and some wet-rated sandpaper, sandpaper that stays together even after extended use with water, you sand…err maybe a better word would be polishing the surface to a smoother finish. This process gives you the best results when done a few times. To do your wet sanding we need just a few items such as water, sandpaper, and an area that will be OK getting wet.
Apply your first coat of primer and let it dry completely. I like to make sure that my first coat of primer is left to dry for at least one full day or longer. If the ambient temperature is below the recommended one stated for the product then you might want to wait for a warmer day or find a place that the item can dry in that is warmer. Doing this will ensure that a good bond will be created between the primer and the metal surface. Plain water is used as your liquid to sand with and I like to add a few drops of liquid dishwashing soap into the water as it seems to make the area more slippery and helps clean the surface. A bowl, tub, garden hose, or whatever you have can be used to hold or supply your sanding liquid. Place the wet sandpaper into the solution and start sanding your piece. You do not need to apply a lot of force when doing this as you are not trying actually remove all the primer but you are just removing any of the high spots and making it all the same thickness. For those of you that to take a shortcut can stop here, but I would really not recommend it. By repeating the above process of primer, drying, and sanding you are guaranteed a better surface to paint on which is VERY important.
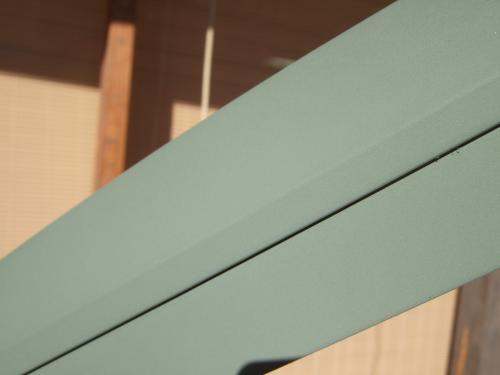
Another quick tip is to paint the non-important side first. Let us say that you are painting a panel that might get seen from the inside of the case, but the majority will be in plain sight with the rest of the case. Take your time and spray some paint on the less-seen side first and thoroughly let it dry. Then start on the more visible side since this is the one that everyone will see. You really do not want to put all your time and effort into the front side and then run the chance of ruining it by having to place it face down and spraying the back and getting overspray all over the finished front side. If you do it the way I said and you get a little overspray on the backside, more than likely it will not ever be seen.
Using your typical spray can of paint you will need to make sure that the paint inside is mixed well. Firmly grab the middle of the can and then shake the can in an up and down motion and within a few moments you should hear the mixing piece “rattle” around, thus the nickname rattle can. Do this for about 60 seconds or more to thoroughly mix the paint. I like to also twist-shake the can from left to right for the final mixing. Take a look at the nozzle location and make sure that it is pointed toward the dot marked on the can. What this does is to ensure that when you slightly tilt the can to apply your paint that the pickup tube is always in a spot to put up the paint down to the very last of it.

Dries to touch in 20 minutes and covers up to 12 sq. ft. per can -Durable formula provides excellent hide and goes on smoothly – Gloss finish provides a fresh, new look for surfaces -Any angle spray –
Comfort spray tip
When you start to apply your paint you should always start with any of the edges; have it be the edge of a window you made or the bent edge of a side panel. These areas will only take a small amount of the paint that the can is releasing which means that there will be a fair amount of leftover paint in the air, better known as overspray. This overspray will carry over onto larger surfaces like the flat spot of a side panel. This is perfectly fine as you have not applied any paint to the flat area of the panel, but if did paint it first and then did the edges last all the overspray could cause to much paint to be on the panel and cause runs in the paint which means that you have to sand down the paint and start the painting process over again. So as you can see it is better to have this overspray happen now when there is no paint on the large surfaces.
Take your spray paint can and point it away from your object and give the nozzle a pushes to force out the paint. This will make sure that the pickup tube is full and that the nozzle is not clogged and is spraying correctly. Once you know that everything is clear and working you are ready to paint. When you start to spray on the paint make sure that you are standing in the middle of the piece and that you have free movement from side to side. Starting for a point off of the item you want to paint, press down on the nozzle and begin to move your arm toward the panel. With a steady even stroke of your arms sweep from one side to the other, keeping the spray can at the same distance away. When you get to the end continue to spray off of the item by a few inches. Yes, you might waste a tiny bit of paint but you are making sure that you have full paint coverage and no need to go back over any areas missed which can cause too much paint to be applied and cause the paint to run. Repeat this process all the way to the end of what you are painting.
Some people say that this is a must-do step while others will pass on it. I can tell you that this part of the painting process can take your paint job to the next level if you are willing to do the extra work. To do this process you will a few items such as a small container for water, a little bit of dish soap, clean water, wet sandpaper, a sanding block, and some tape. Wet sandpaper is made especially for getting it wet. Regular sandpaper will deteriorate when you get it wet. Like ordinary sandpaper, wet sandpaper comes in “Grits” but we are talking much finer than before. You will be looking to get some that are in the 1000 – 2000 grit range. Why so fine? Well, you are not trying to remove the paint but rather smooth or flatten it out. All you want to do is work on the surface of the paint.
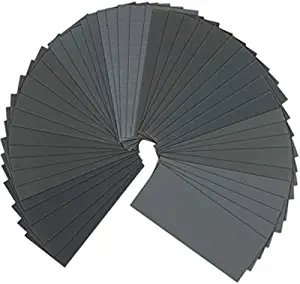
The package comes with a total of 90 pieces of assorted abrasive sheet in grit 400/ 600/ 800/ 1000/ 1200/ 1500/ 2000/ 2500/ 3000. Each grit comes with 10 sheets.
So when should you do this process? That is a very good question and there are a few times that you can do it but keep in mind that normally this is done to the final layer of paint, whether it be a color or a clear. Let’s start off with the scenario that you have sprayed on a single color on your case and you do not plan to put a topcoat. This is where you would color sand. Now if you want to add a clear coat to the case, make sure the color coat is clean, shoot the clear on, and then do the wet sanding on the clear coat.
Now there is a time when you might have to wet sand at both stages. This would be if you are planning on doing multiple colors for your paint job. The scenario for this would be something like you have a base coat that you applied and then you added a flame design over the top of the base coat. Here you would want to use the finest grit wet sandpaper because all you really want to do here is to remove the hard edge that is left by the flame pattern paint. With plenty of soapy water and light pressure while sanding you will want to just barely feather the edge of the flame. This will give you a much smoother finish when you apply the top clear coat. After you have applied your finished clear coat you will want to once again wet sand the paint. This will take out any of the small imperfections that might have happened during the spraying process.
The final step that will make your case shine above all the others is buffing. The buffing step is essentially polishing the paint to shine with a compound that is much finer than the wet sandpaper you were using before. And like sanding, you can buy a small buffer, typically from an automotive supply store, or rely on good old-fashioned elbow grease. While you are out picking up your new buffer, make sure that you pick up some buffing compound. Buffing compounds can come in a paste or liquid form, and some will say that you have to use the paste and others say the liquid, but it really depends on which one you like better. It, too, comes in different “grits” (instead of numerical values, your choices are “Heavy Duty,” “Medium,” “Light,” etc.), and again, it all depends on what kind of finish you are looking to achieve and how much time you want to put into it.
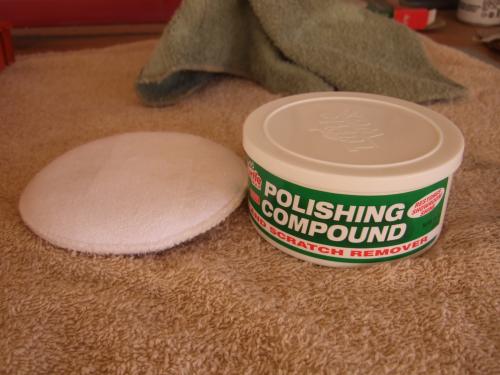
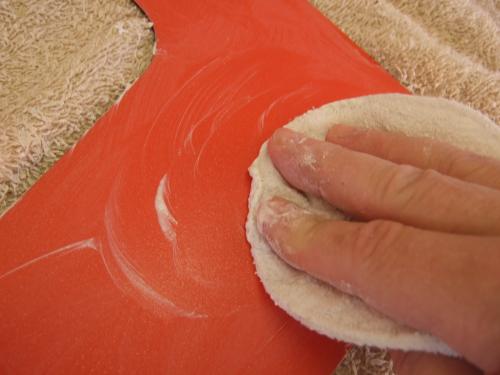
When you apply the buffing compound, don’t apply too much. A buffing compound is just a liquid form of sandpaper, and the more you add the less it can remove from the surface of the paint; you actually create a barrier between the paint and the buffing wheel. Using the buffer, press down slightly and use full, smooth strokes back and forth until you can see and feel a difference in the paint. Like any great-looking car out there, you need to protect what you did with a few coats of car wax. With the newer technology in today’s waxes, this part is a breeze. After the final polish, you should have a brand-new case with an appearance that’s truly one of a kind.
If you would like to see a video version of this article you can check out the video I did for the Geforce Garage: How to prep and paint your case.
How about a different approach to painting your case? Sometimes you just want to add a few highlights or you might just want to add some flair to your keyboard or mouse. Take a look at this how-to on using paint pens to create your new look.
