Harley Quinn Build – Part 1
 Harley Quinn first appeared in the Batman: The Animated Series episode “Joker’s Favor,” (1999) as what was originally supposed to be the animated equivalent of a walk-on role; a number of police officers were to be taken hostage by someone jumping out of a cake, and it was decided that to have the Joker do so himself would be too bizarre (although he ended up doing so anyway). Dini thus created a female sidekick for the Joker. Arleen Sorkin, a former star of the soap opera Days of Our Lives, appeared in a dream sequence on that series in which she wore a jester costume; Dini used this scene as an inspiration for Quinn. Having been friends with Sorkin since college, he incorporated aspects of her personality into the character.
Source – Wikipedia https://en.wikipedia.org/wiki/Harley_Quinn
This project is going to be modeled after the version from the game Batman Arkham City. Where she is seen in a contrasting Red/White outfit instead of the traditional Red/Black.
Sponsors
Brought to you by the awesome folks at
Specs
| Case | Thermaltake Core P5 |
| CPU | Intel i5 6600K /w Phobya Block |
| Mobo | Gigabyte Z170X Gaming 7 |
| RAM | G.Skill Ripjaws V 3200Mhz DDR4 8Gb (4Gb x 2) |
| GPU | Geforce GTX 970 x2 SLI /w Alphacool GPX Blocks |
| PSU | Thermaltake 750w Toughpower DPSG |
| SSD | Samsung EVO 850 250gb M.2 x 2 RAID0 |
| RAD | Mayhem’s Havoc 240mm |
| Fans | Phobya Nano 2G 120mm PWM /w Phobya shrouds & V1-Tech Fan Grills |
| Fittings | Monsoon Eco 3/8″ x 1/2″ Hardline Fittings Red |
| Tube | Monsoon Clear PETG |
| Fluid | Mayhem’s Aurora 2 |
| LEDs | BS Mods RGB LED Strip |
Phase One: Mock-up
Some folks before they even start they have a ready made plan or even a rendering of exactly what the finished product will look like. I am not one of those people. I have a general idea of what it should look like in my head but the creative process always ends up taking over. I will change something. Then step back look at it for a while and suddenly think “How about if I do this? or How would it look with this?” So the finished project rarely ends up looking like what I originally had in my head.
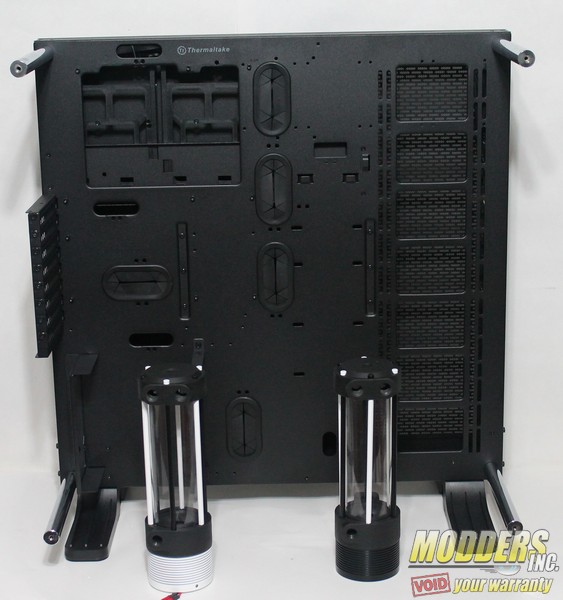
The chassis I am going to be using is the Thermaltake Core P5. I will also be utilizing Monsoon’s latest MMRS reservoirs. Big thank you to Thermaltake for providing this awesome case, and to Performance-PC’s for their generous contribution of the two Monsoon MMRS res/pump combos. The new MMRS is modular and each piece is sold individually so you have to put it together yourself or for a small fee Performance PC’s will assemble it for you. Below are a couple links to where you can get both of the awesome products.
Since the Monsoon MMRS system is more of a DIY product. I went ahead and did a little video on how to put one together.
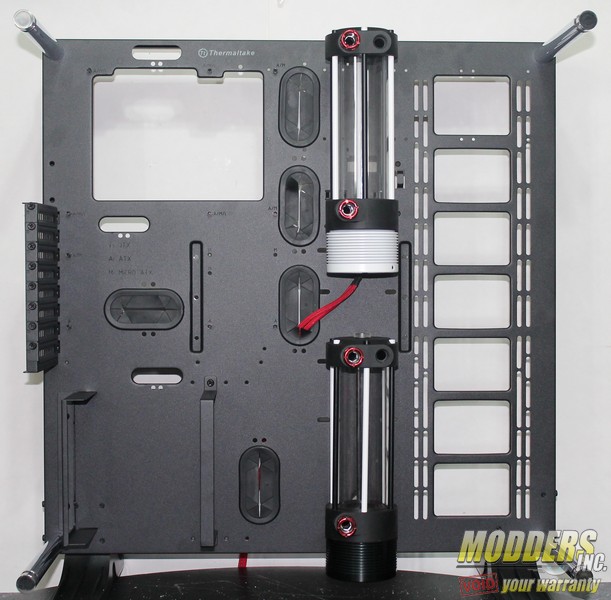
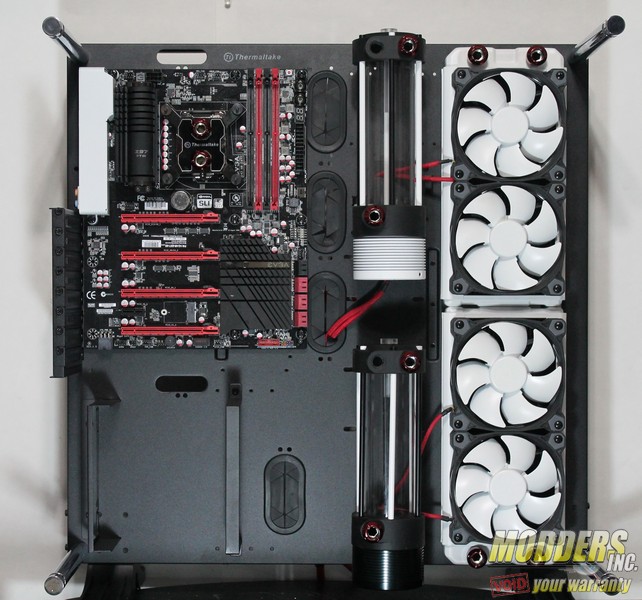
First up mounted the two Monsoon MMRS reservoirs. This one is going to be a dual loop so each res has it’s own integrated D5 pump.
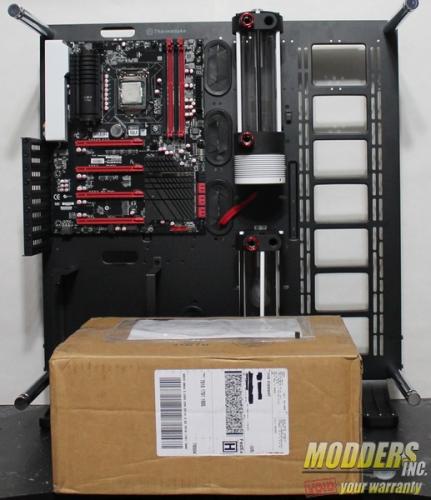
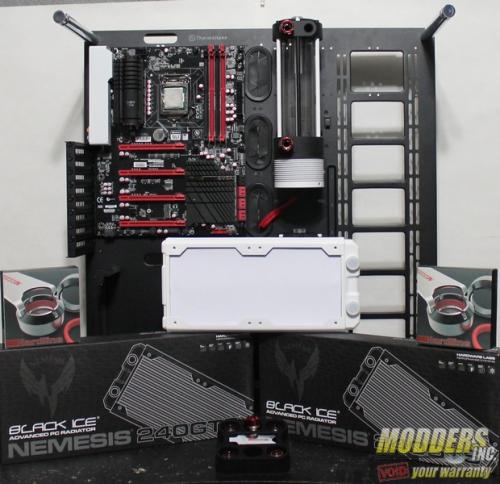
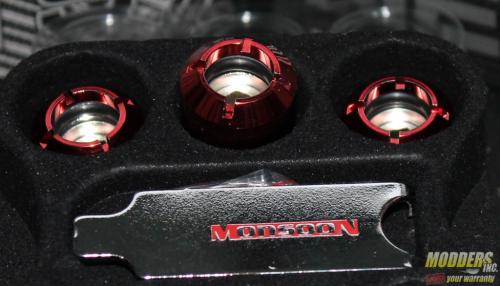
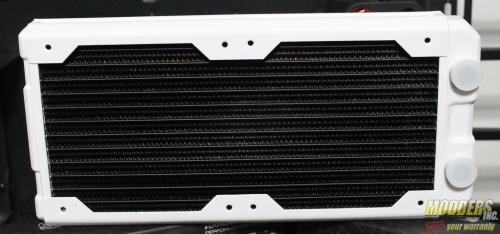
The first package I ordered from Performance PC’s has shown up….. 2 x 240mm Black Ice GTX Radiators, (If you didn’t know they do come in Primer White so you can paint them any color you want. However these are for another project, as is the EVGA motherboard :) ) and 15 Monsoon Eco Hardline Fittings in Red.
Most of the gear is mocked up. Going to be drilling a few more holes for better cable management. Then it’s off to the garage to get prepped for paint.
Phase Two: Prep
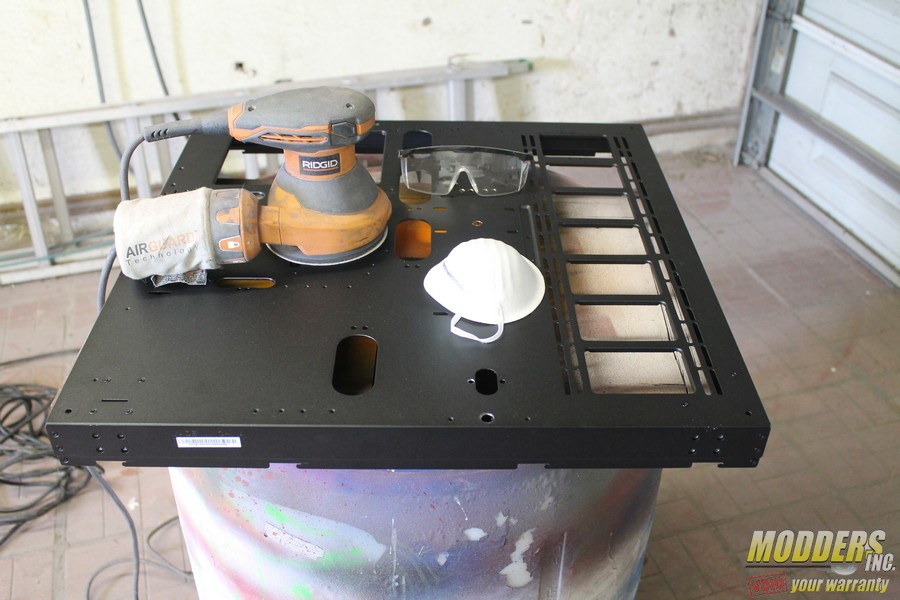
Time to prep the case for paint. Remember always wear the proper safety gear. You don’t want to be breathing in tiny paint particles and you definitely don’t want that stuff in your eyes. Also if you are going to be using a orbital sander like me, make sure you use the lowest setting and let the tool do the work. (Don’t put your weight down on it.) All you want to do is rough up the surface of the paint so the new paint has something to stick to. If you want more info on how to paint your case and hardware check out these links:
- Modders-Inc.com Step by Step Guide to Shooting Paint
- Modders-Inc.com Geforce Garage How to Prep and Paint Your Case
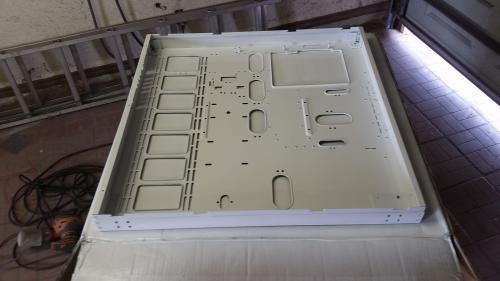
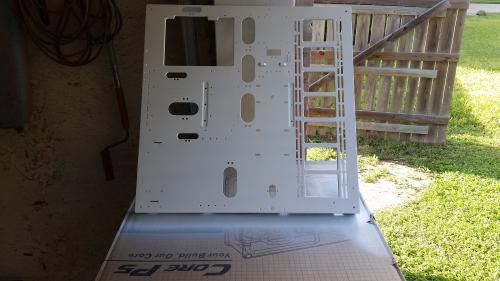
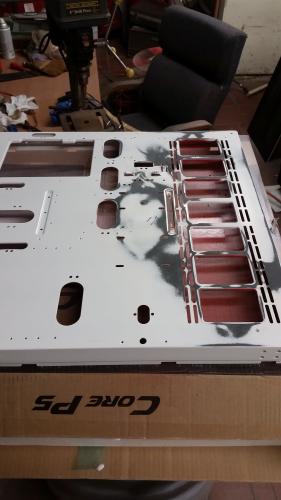
The first and second coat of Semi-Gloss White paint has been applied. Going to let it sit for a couple days before I get started on the red.
Sadly the effect I was going for with the three diamonds didn’t come out right so I had to sand it back down, clean it off and go over it with a Tack Rag. Tack Rags are the last step before shooting paint. Here is some more info on Tack Cloth: Modders-Inc painting tips: Tack Cloth
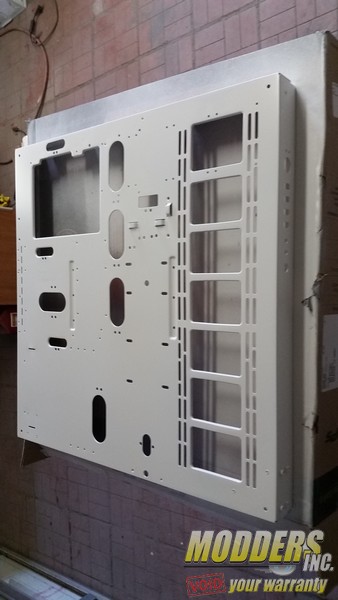
I re-shot the White and now I think I am going to go in a different direction. ( This is where that creative process I was talking about earlier starts kicking in.)
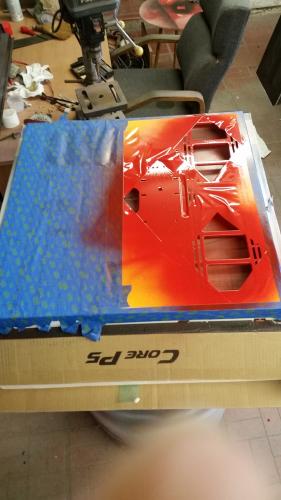
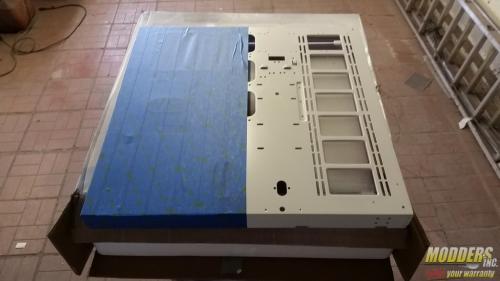
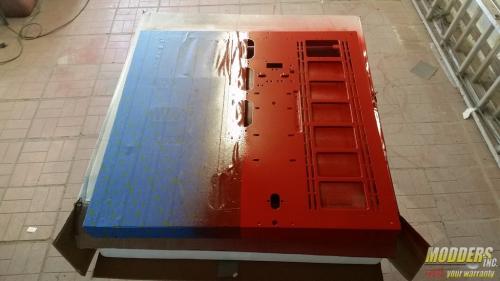
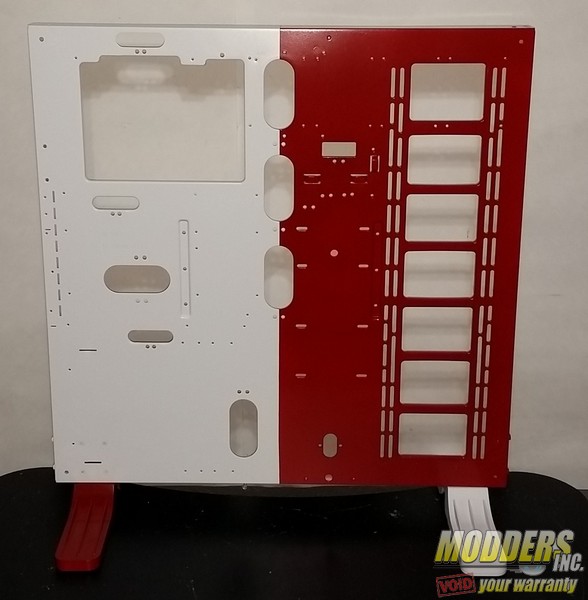
This time going to go for a even split down the middle. There will be plenty of diamonds all over the place.
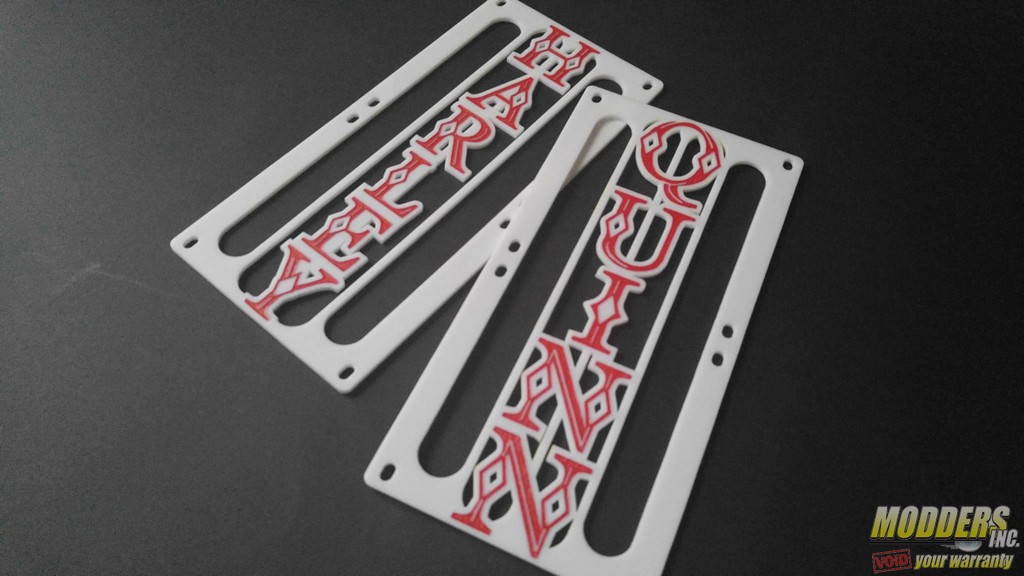
Here is a sneak peak an the superb custom fan grills made for the project by V1-Tech be sure and scope out the range of services they provide with very reasonable fees.
Well kids this concluded this portion of the build log. In Part 2 I will start on the system integration and some of the detail work.


