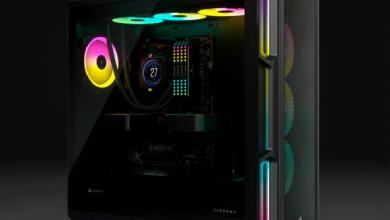
Cooler Master MasterBox 5 Case Review: Black with MeshFlow Front Panel Version (MCX-B5S1-KWNN-11)
Hardware Installation and Clearance Compatibility
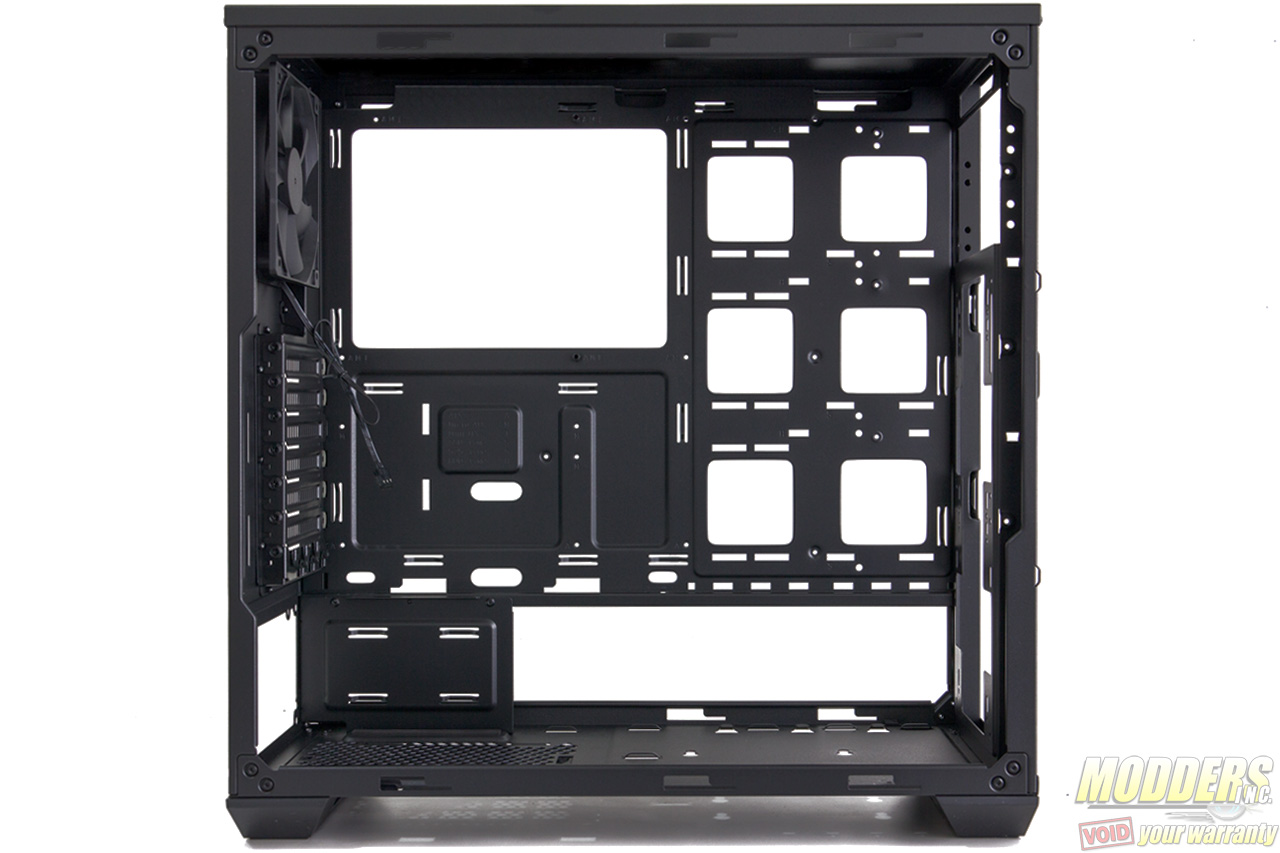
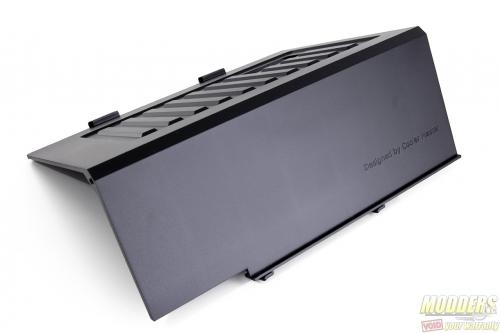
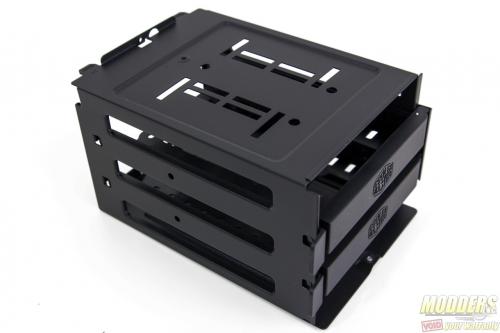
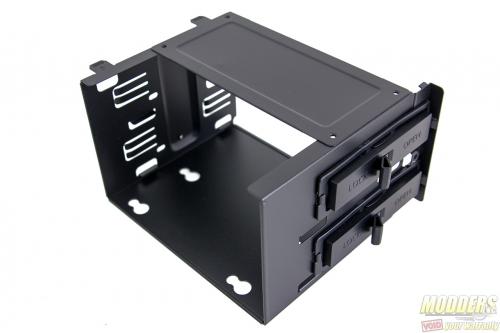
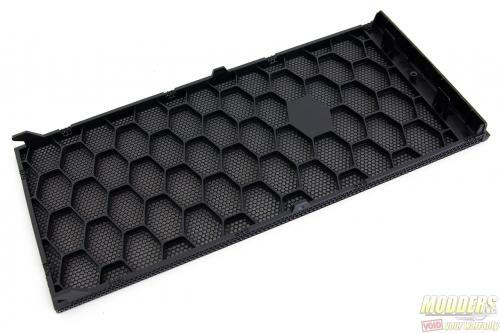
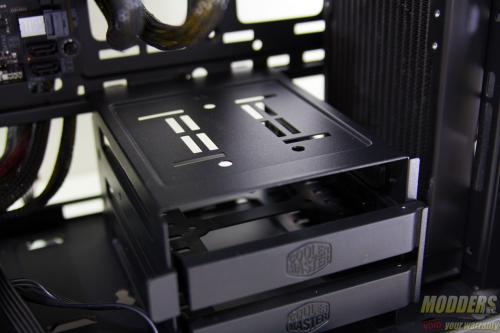
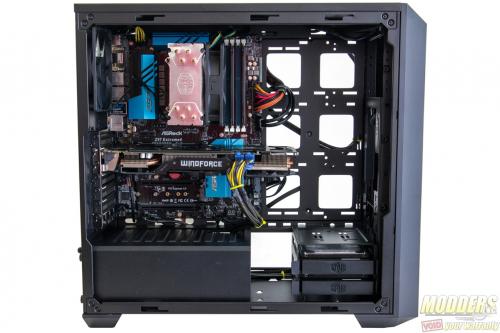
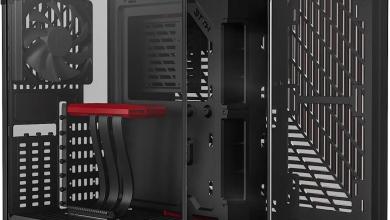
The default layout of the MasterBox 5 MCX-B5S1-KWNN-11 is just one way to install components inside, the rest of the pieces are reconfigurable in multiple ways in order to support a particular build or component. The 3.5″ hard drive cage, 2.5″ mounting plate, and PSU cover all come off easily, held in place by screws. With the exception of the PSU cover which is made of plastic, all the other removable mounting cages are made of metal. Cooler Master offers these individual pieces separately as well, giving users the option to add-on mounting cages if they require so later on.
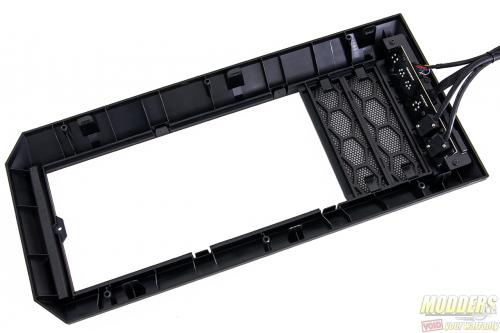
A 5.25″ drive cage is also available separately but the matching front panel with external 5.25″ bay openings must be purchased separately with it as well.
Front mounted radiator:
- 120mm fan x 2 / 140mm fan x 2/ 240mm radiator/ 280mm radiator
- 120mm fan x3 / 360mm radiator is supported with an optional front fan bracket is used (accessory kit not included in default configuration and must be purchased separately).
Rear Radiator:
- Rear 120mm fan / radiators supported
Top Radiator:
- There is 29mm of space between the ceiling and before the motherboard begins, but since there is no vents here like the Canada Model version, nothing can be mounted here without modding.
Video Card clearance:
- Since there is no HDD cage on the way, there is a 385mm clearance even with a radiator in the fan installed, more than enough for even an HD6990 video card which is 305mm long.
- Total clearance is 410mm
CPU Tower coolers:
- CPU heatsink height clearance is generous and was able to fit the 165mm tall NH-D15S.
- 167mm total height clearance
- Large CPU backplate cutout
3.5″ HDD installation:
- 3.5″ HDD cage is made of metal while the caddies are made of plastic, 3.5″ drive installation is tool-less (can be reinforced with a screw in the middle)
- The 3.5″ HDD cage can be moved back two spaces from the default position to provide front radiator / fan clearance.
- The 3.5″ HDD cage can be positioned up to three spaces up from the default position or additional 3.5″ HDD cages can be purchased to fully install up to eight 3.5″ HDDs.
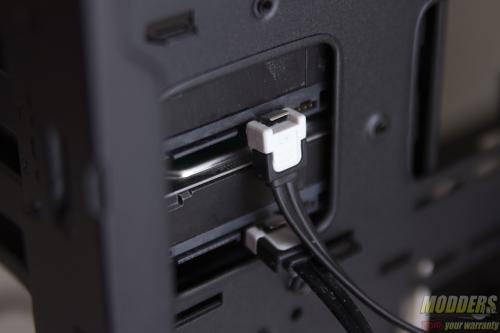
- When installing the 3.5″ HDD cage on the variable mounting wall, the clearance for the bottom 3.5″ drive makes it impossible to use angled SATA cables (only the top can use it).
2.5″ installation:
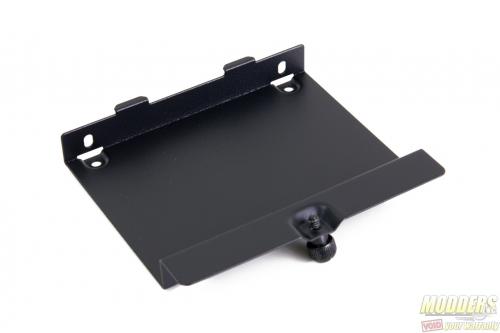
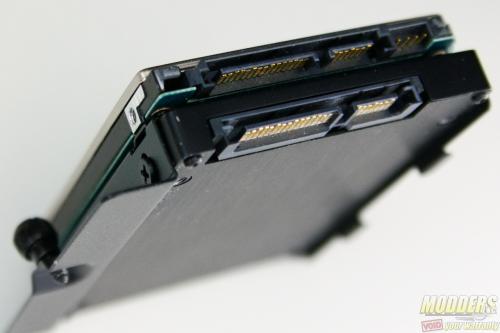
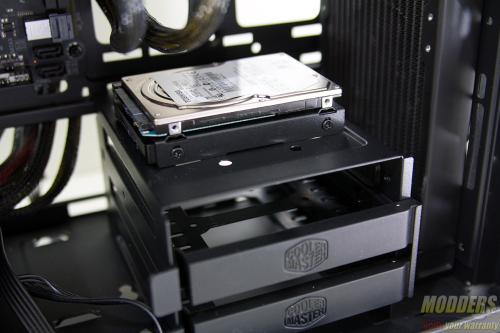
- One 2.5″ bracket is provided which supports up to two 2.5″ devices
- 2.5″ bracket can be installed one position down or one position up or behind the motherboard tray or on top of the 3.5″ HDD cage.
- Due to tight clearance on the bottom 2.5″ device, a straight angle SATA power/data cable is recommended.
- The 3.5″ HDD caddy also supports 2.5″ drive mounting with screws
Cable management:
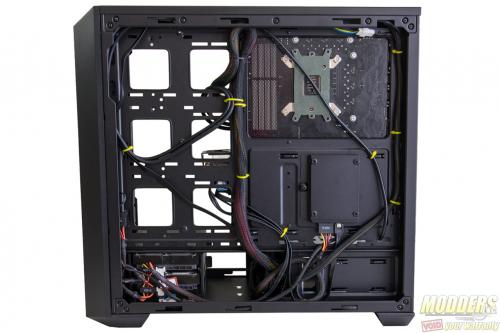
- There are six routing holes in total, unobscured. If adding a 5.25″ aftermarket, the top-most routing hole will be partially blocked. This is also one of the optional mounting areas for 2.5″ SSDs so this area can be partially obscured as well if installing those in this location.
- Behind the motherboard tray, there is 25mm of clearance for cable management, and on the PSU level, there is 35mm of clearance.
- 15 cable tie loops are built into the tray
