PC Cases / AccessoriesPC Hardware Reviews
Thermaltake Element S PC Case
« Intro | Page 3 »
A Closer Look |
Exterior:
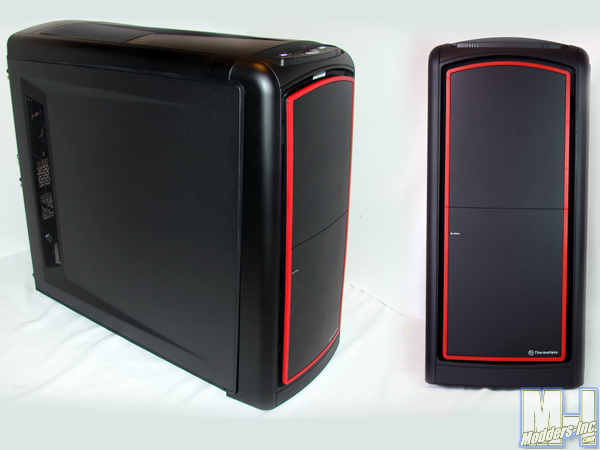
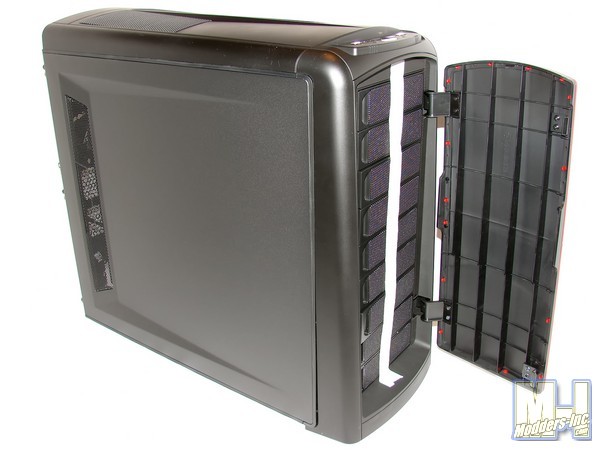
The Thermaltake Element S is available in matte black with red trim around the front door. This gives the case a rather distinct subdued stealth look, with just a glint of flash to it. So, it shouldn’t be too flashy for your business desk, but it wont be boring either.
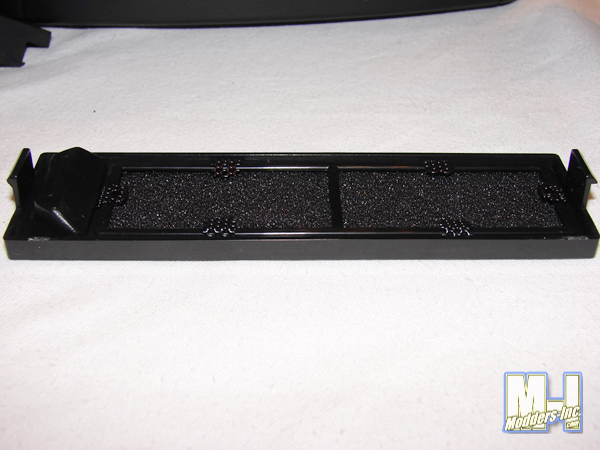
The case design uses subtle curves and lines to bring the panels together rather than a far out futuristic design that we see in a lot of gaming cases. The side panels are visually identical (on the non-windowed version) with both having the same rear vent openings. Opening the front door reveals the drive bay covers, of which there are nine mesh covered inserts that can be removed, each having washable filters. However, it should be noted that only the top three covers will have the ability to have optical drives behind them. The bottom six mesh covered inserts are setup to allow intake fans behind them.
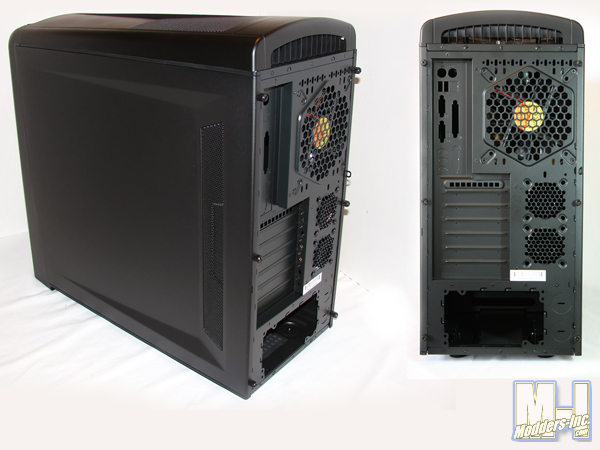
Moving to the rear of the case, we find that it is also finished in the same matte black finish. The Element S is setup for a bottom mounted PSU (Power Supply Unit). To the right of the PSU mount we find two holes for liquid cooling lines (just in case you wish to go that route). Just up from the PSU mount we find two 60 mm exhaust fan mounts for extra ventilation of the VGA area. There are seven PCI slots, with one having a vented slot cover and the other six being of the punch-outs variety. The rear I/O shield is painted to match the rest of the case to continue the effect. Thermaltake has included not two, not four but six thumb screws with the side panels of the Element S to really lock them down tight and keep noise to a minimum. Last but not least we have a 140 mm rear exhaust fan installed, instead of the normal 120 mm fan that most cases have.
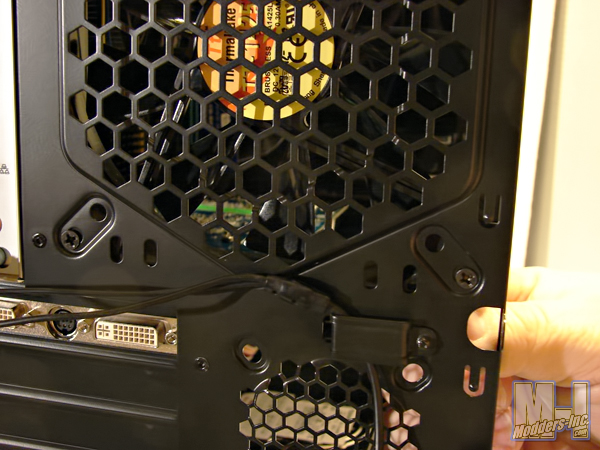
Another nice features is the Keyboard & Mouse Security Lock that Thermaltake includes with the Element S. It’s a very simple to use little gadget that could save you some money. Please note that the included thumbscrew for the Security Clip is in a separate accessory bag. Simply stick the prong end of the clip in the elongated hole on the backside of the case and run your cables through the clip. Then attach it to the case from the inside (this way it can’t be easily unscrewed by others) of the case using the supplied thumbscrew. To the right of the Security Clip is a pad-lock tab that can be utilized to lock the side panel on once everything is installed and secured
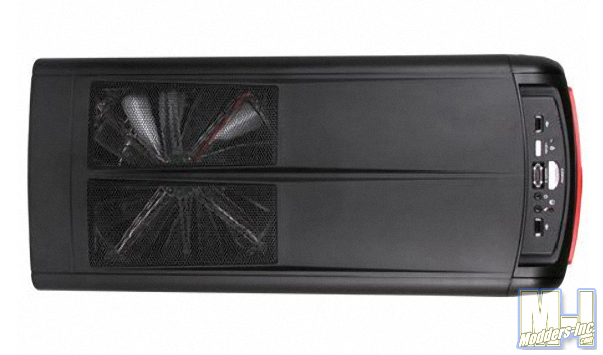
In this topside view of the Element S, we can see the large 200 mm fan used to exhaust the heat from the case. This is the only fan in the Element S that has LED light and it puts out just a mild amount of Red light by itself. I found this Red light not to be overpowering at all.
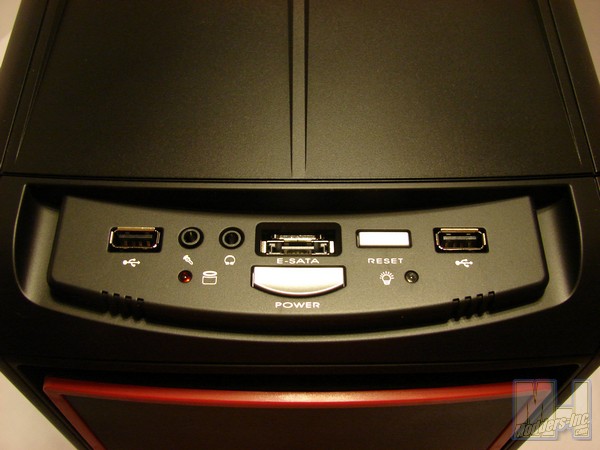
Looking from the top front we can see the front header panel which contains two USB 2.0 ports, an e-SATA port, audio jacks and the Power and Reset buttons.
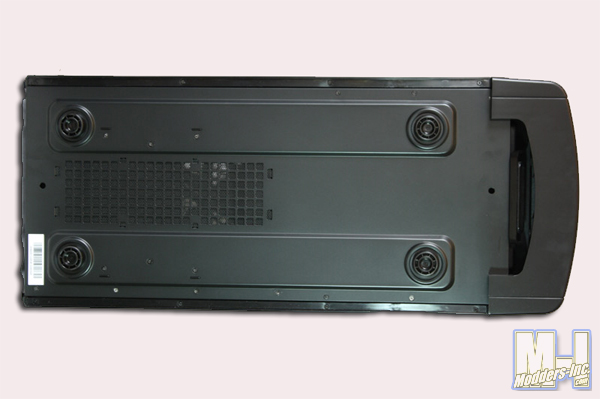
Moving on to the bottom we find that the PSU area is ventilated. Thermaltake has opted to use hard plastic feet on the Element S rather than rubber feet. At the right you can also see the finger hold used to remove the front bezel.
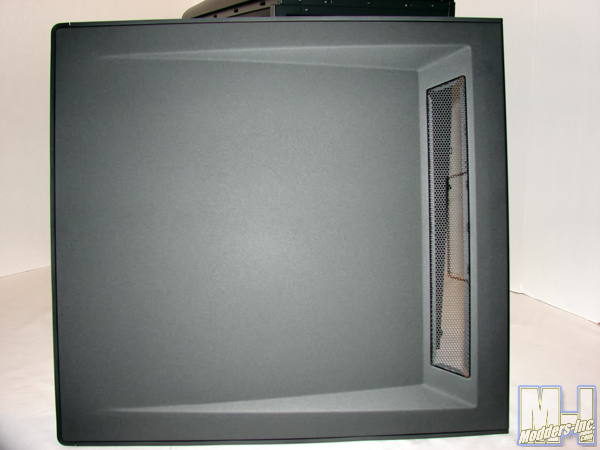
As mentioned early on in the review, the side panel doors are identical on the US version of the Thermaltake Element S. Now it is my understanding that a side panel with a 230mm fan is available to the UK and Asian markets. I’m not sure why it isn’t available in the US.
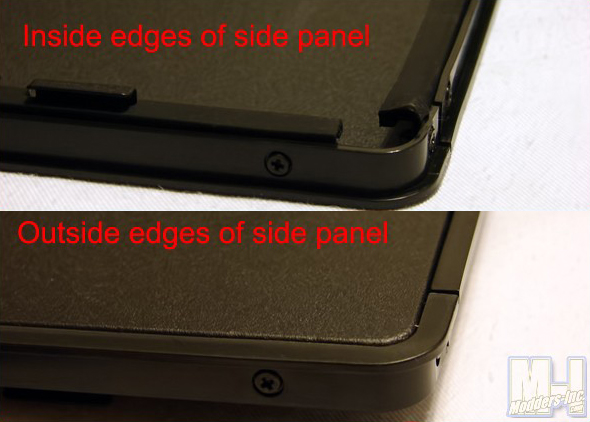
The side panels are mainly constructed of steel while the edges are treated in plastic slides to make sliding the side panel on and off easier. They also have rubber seals (much like an automotive car door) to help keep them from vibrating, which I feel is a nice touch.
Interior: 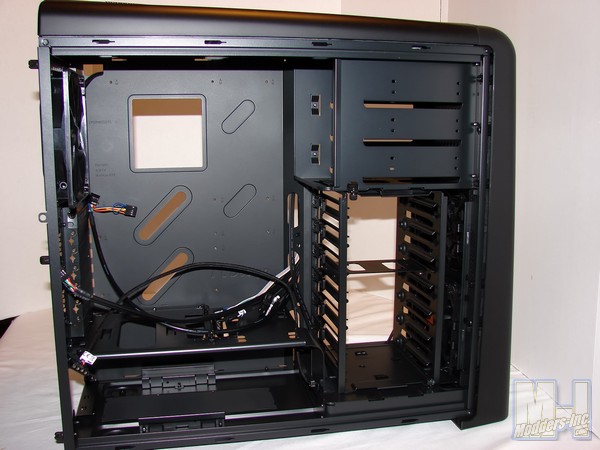 Moving to the interior of the Themaltake Element S we can see that the matte black theme is carried throughout the entire chassis. Thermaltake has added a slew of wire management options in the Element S, ranging from holes in the motherboard tray, between the HDD cage and motherboard tray, under the HDD cage, and in the PSU brace.
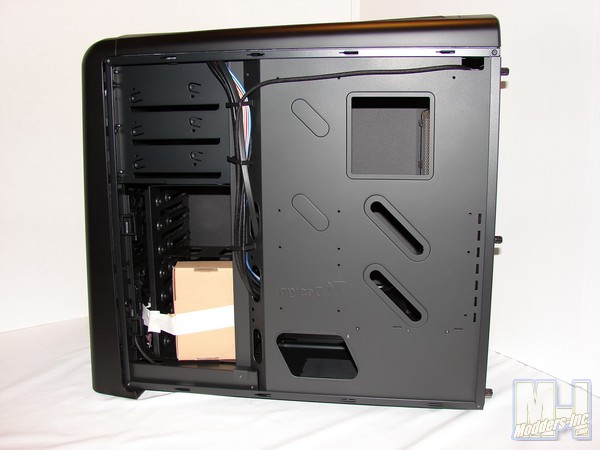
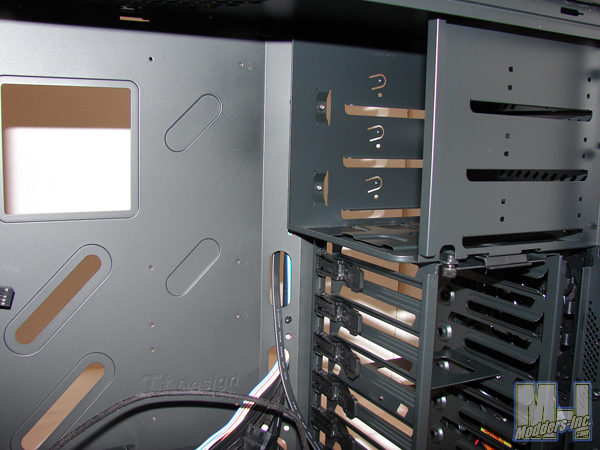
Looking at the rear of the motherboard tray, you can get a better look at the cable management options. We also see the large CPU backplate access hole at the upper right. Granted, with the various motherboard options, the access hole might not be ideal for all CPU / motherboard combinations. The addition of the access hole is a nice touch. Thermaltake has angled the front of the motherboard tray and added wire management clips to aid in the cable routing.
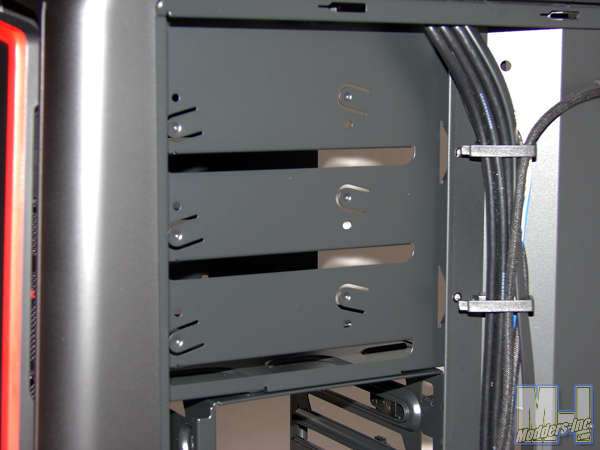
Here we have a better shot of the wire management clips and the angled leading edge of the motherboard tray, which is another pleasant touch.
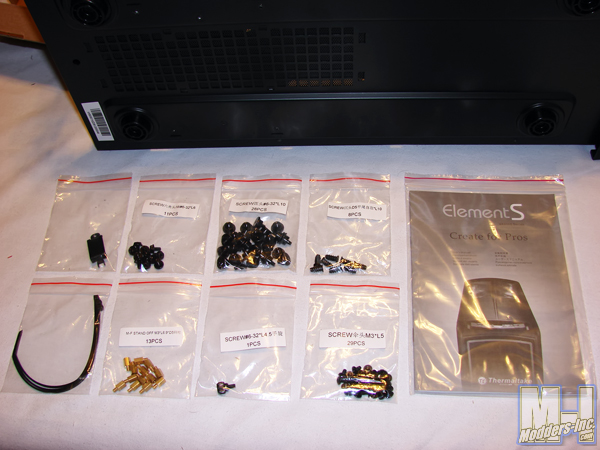
Inside the accesory box we have individual zip-loc bags that contain all the neccessary screws, stand-offs and a few wire ties to complete your system build.
Above we have a shot of the upper front drive bay covers. These are simple to remove so that you can easily clean the filters.
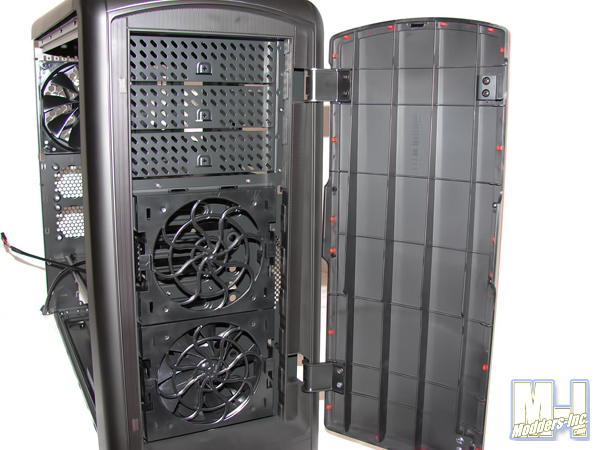
Once you remove all the drive covers you will find that there are three 5.25″ open optical drive bay slots located at the top of the case. The lower six slots are occupied by two 120 mm plastic fan cages. Unfortunately, only one of the fan cages is fitted with a pre-installed 120 mm fan.
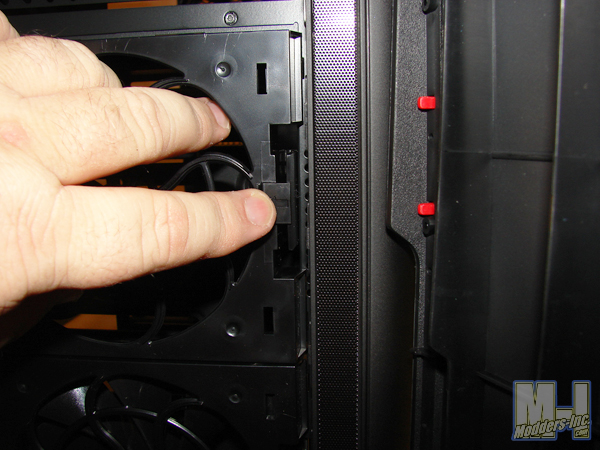
The fan cages are simple to remove. Simply push the clips in on the side and pull them out to remove the fan cages, which makes configuring your front fans quick and easy.
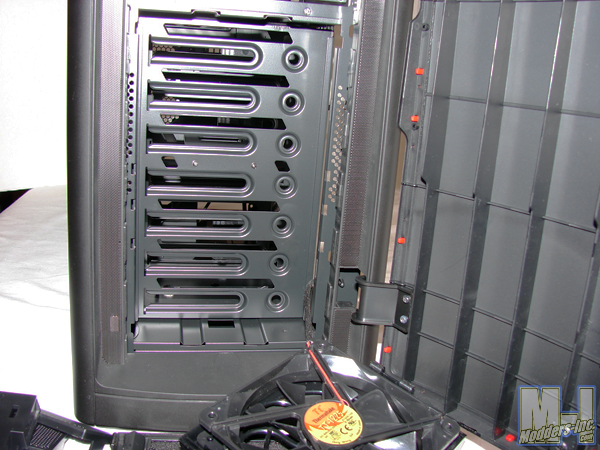
With the front fan cages removed, you will also have access to the multi-directional HDD (Hard Drive) cage. We will discuss the HDD cage in greater detail a little later on.
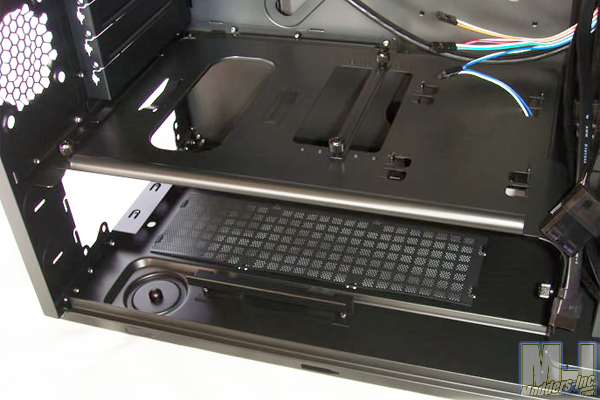
The PSU has it’s own separate chamber, divided by a panel designed not only to separate it’s cable system from the rest of the system for less clutter, but to also house the two 2.5″ SSD (Solid State Drives) or 2.5″ laptop drives for extra storage. It can be removed if you so desire. The area under the PSU is vented allowing for fresh air to enter the bottom intake fan of the PSU.
The 5.25″ optical bay cage is not tool-less on the Thermaltake Element S as we see in most cases today. Personally, I like the fact that they are not tool-less. As you can see, the HDD cage does use tool-less locking clips to hold the hard drives in place, after you install special drive rail studs in the hard drive(s).
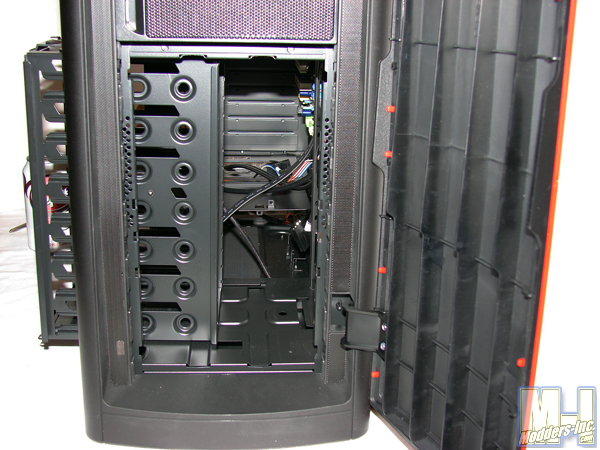
Speaking of the HDD cage, it will hold seven 3.5″ hard drives and is multi-directional, meaning that the cage itself can be rotated 90º in the chassis. This will allow you to mount your hard drives in sevreal different directions, depending on what suits your needs best. Here we have the hard drive cage as it normally sits in todays modern setups (with the hard drives facing toward the side panel).
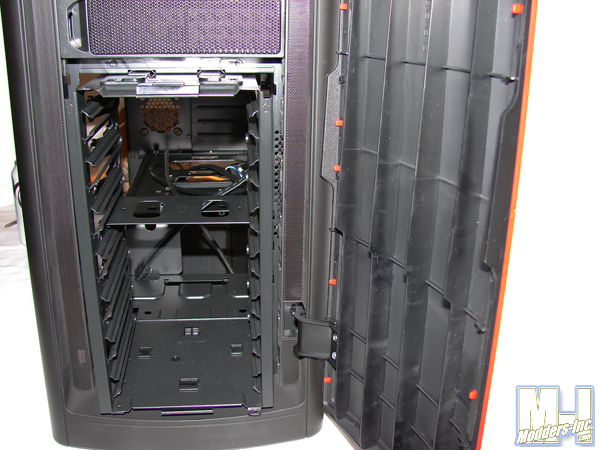
In the above picture we have the hard drive cage being mounted where the hard drives will face the front and back of the case, much like they did in most of the older cases.
|
