Cooler Master MasterAir Pro 3 and 4 CPU Cooler Review: Living Up to a Legacy
A Closer Look at the Cooler Master MasterAir Pro 4 and MasterAir Pro 3
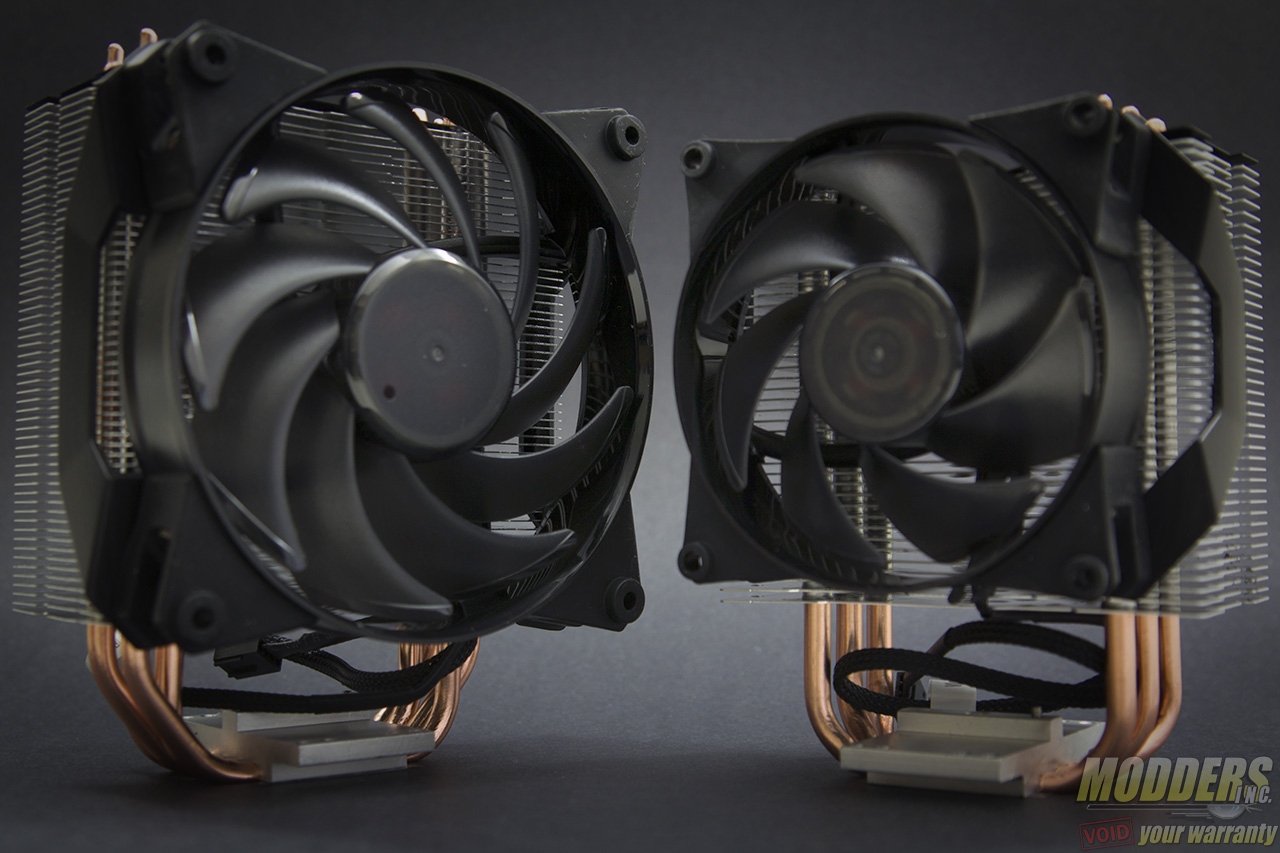
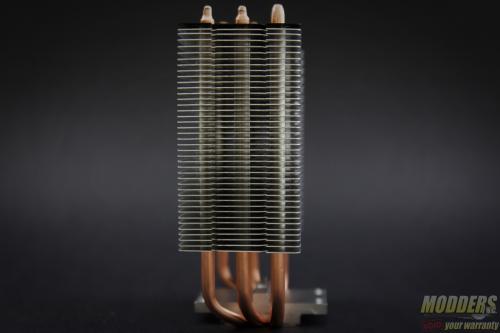
Both the MasterAir Pro 4 and MasterAir Pro 3 target mainstream users and component clearance compatibility is very important in that market segment. That is why these two coolers are also designed to be more compact than most tower coolers. In terms of height, the MasterAir Pro 4 stands 158.5mm tall, 0.5mm shorter than the venerable Hyper 212+. The MasterAir Pro 4 is a lot shorter at only 140mm.
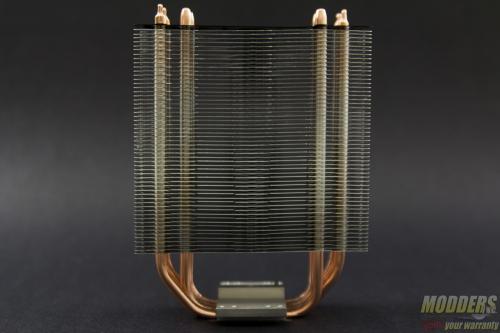
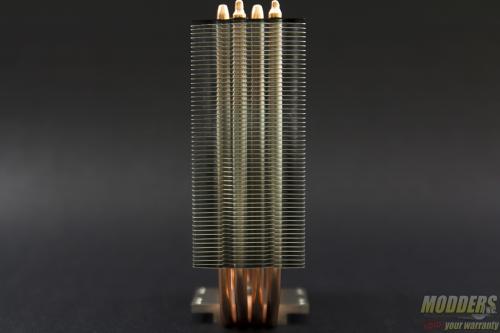
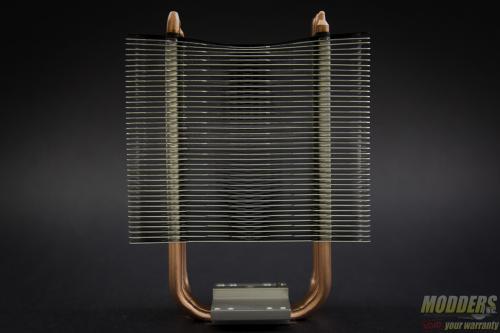
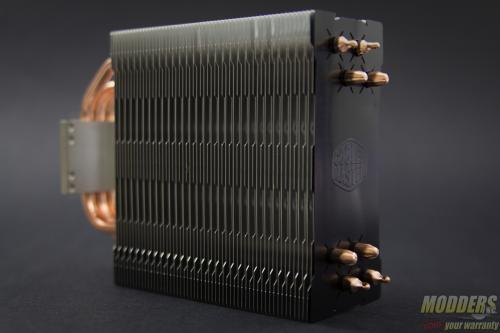
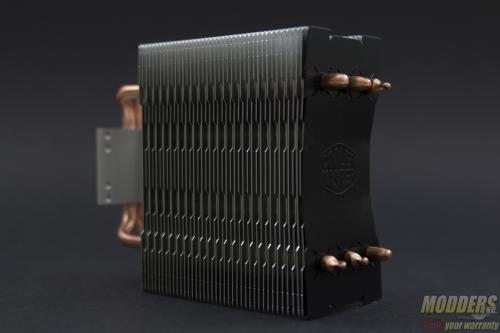
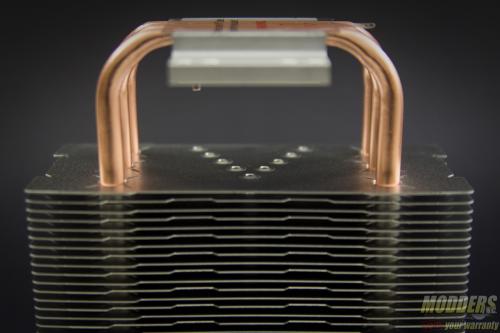
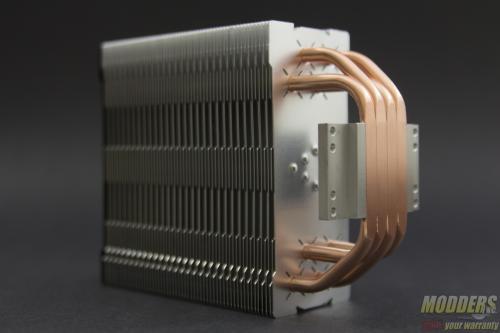
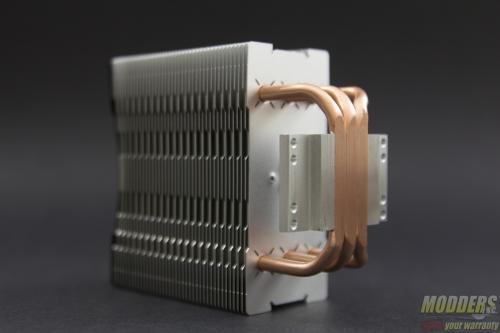
Both are U-shaped tower coolers with 6mm heatpipes that rise up to an open sided aluminum radiator stack. In comparison to the Hyper 212 series however the MasterAir Pro 3 and Pro 4 has an alternating, staggered edge on the radiator fins. The MasterAir Pro 3’s heatpipes ‘lean’ to the side to accomodate DRAM clearance when mounted in an east/west orientation. Curiously, the MasterAir Pro 4’s heatpipes stand straight from the center because the MasterAir Pro 3 is slightly thicker at 61.5mm compared to the MasterAir Pro 4’s 60.5mm. The clearance compatibility section on the next page of this review will show how this affects components installed.
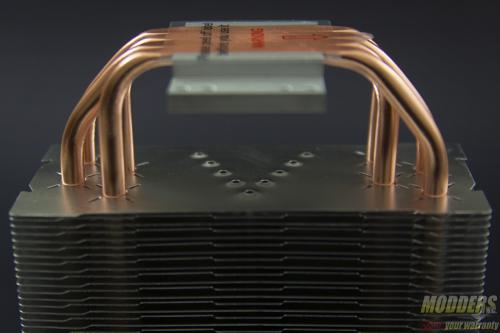
Adding a top plate cover on the heatsinks is one of the more trendy features on many new heatsinks but Cooler Master opted to paint the top-most aluminum fin in black instead. The copper heatpipe and their wicks are still visible, although there are tiny slits on the fins close to where the heatpipes make contact for increased airflow towards them (a feature Cooler Master calls the “X-vents”). There are also flow-separation and acceleration channels in the form of punched dots on the fins which guides the airflow away from the center and concentrates them towards the heatpipes. This V shape channel points towards the airflow intake side of the heatsink.
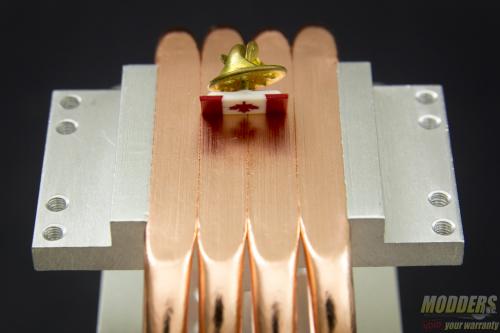
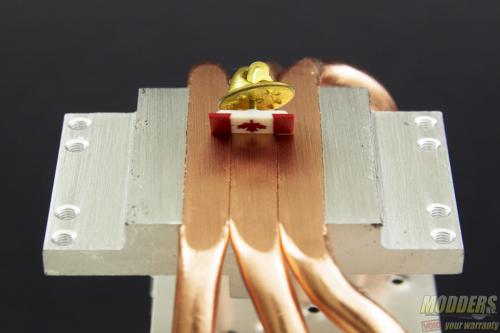
Similar to the Hyper 212+, the heatpipes are making direct contact with the CPU IHS contact surface. The difference is that the heatpipes on the MasterAir Pro 3 and Pro 4 are flattened similar to the Hyper 212 EVO without gaps in between them for greater contact surface area.
The MasterAir Pro 4’s total contact surface area measures 37.55mm (27mm actual copper) x 35.10mm while the MasterAir Pro 3’s is slightly smaller at 36mm (20mm actual copper) x 35.10mm. The contact surface area has a machine brushed look that is even and non-reflective. Part of the aluminum primary stage heatsink comprises of the outer edge surface area.
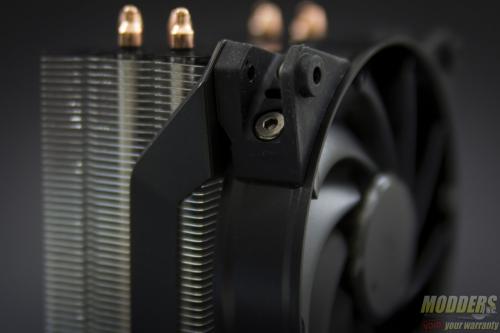
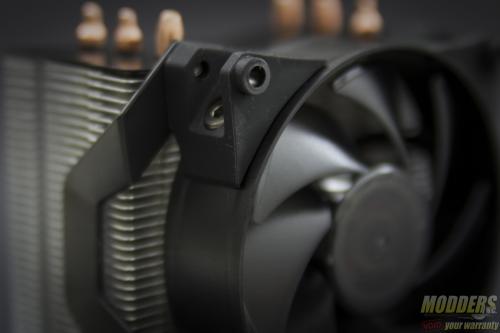
Another improvement compared to the Hyper 212+/212 EVO are the fan brackets which are now much sturdier and have a larger latching area. This of course, also covers some of the sides of the actual heatsink but it further serves the priority of cooling the heatpipes since it funnels some of the normally sideways outward airflow into them. Like the Hyper 212+/212 EVO, these brackets are secured with fan screws on the fan and have rubberized padding for vibration dampening against the metal heatsink body.
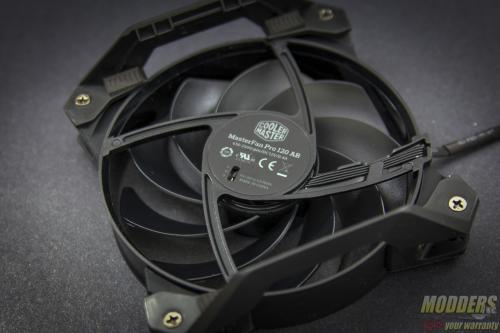
For the MasterAir Pro 4, Cooler Master bundles the MasterFan Air 120 Balance which was also used on the LiquidMaster Pro 240. On the MasterAir Pro 3, Cooler Master includes a 92mm version of their MasterFan Air Pressure.
The MasterFan 120 Air Balance is a combination of both having a lot more blades at 10 than the 120mm air pressure version which only has five very wide blades. The 92mm MasterFan Air Pressure on the other hand has seven blades with a deep curve center and a much wider edge and having the leading edge curving sharper than the trailing edge.
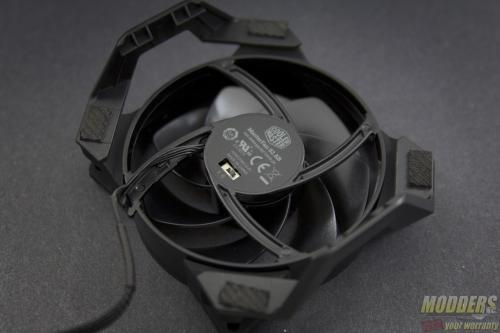
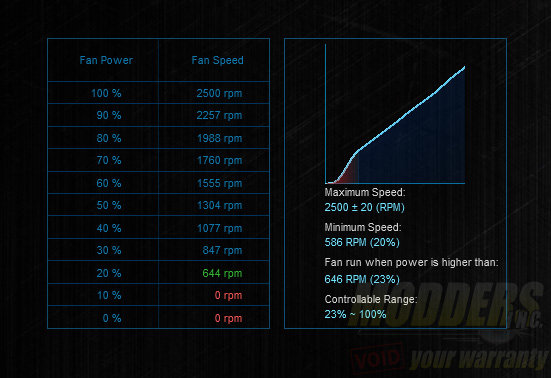
There are three settings available on the MasterFan Pro 120 switch, including a performance mode, a quiet mode and a silent mode. It sounds redundant since Cooler Master decided to call the medium setting the quiet mode. In performance mode, the fan speed tops out at 2500 RPM, while the quiet mode tops out at 2000RPM and the silent mode caps the fan speed to 1300RPM. This is a good option to have for those using a non-speed control fan-hub.
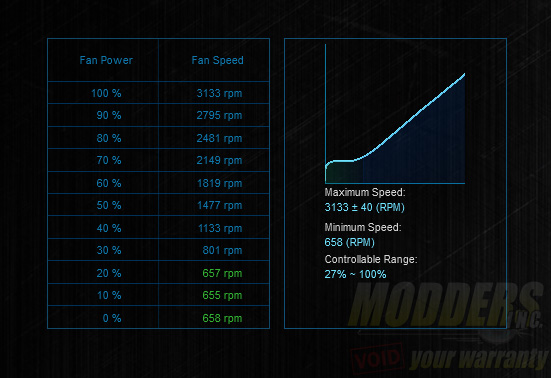
The MasterFan Pro 92 on the other hand tops out at 3000RPM at its ‘Q’ setting and has a slower 2000RPM max on its ‘S’ setting. The PWM controllable ranges for these fans are shown above via ASUS FanXPert II software.
IMPORTANT NOTE: Please turn off the fans and unplug before adjusting these speed switches. Adjusting them while in operation have resulted in very audible “clicking” noises during PWM operation that will not go away. UPDATE: 11/2: After some further testing after purchasing four more MasterFan Pro 120 Air Balance fans, the issue was apparently a mechanical one specifically only on the samples I received. The “clicking” noises went away after replugging the fans and PWM noise performance while operating was as smooth as it was when tested with the bundled MasterFan Pro 120 Air balanced fans on the MasterLiquid Pro 240 review.
